🔐 Step 1: Obtain a Let’s Encrypt Certificate
-
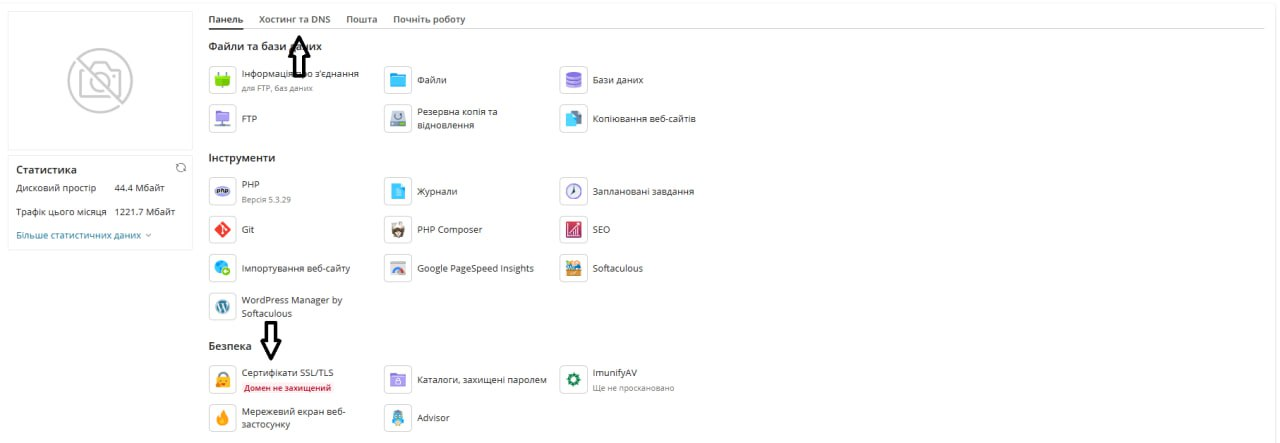
Log in to the Plesk hosting control panel. You received access details when your hosting order was activated, for example: https://yourdomain.com:8443.
-
Go to Websites & Domains, click SSL Certificates, and select the Let’s Encrypt certificate for your domain.
-
In the form that opens, specify:
-
Email address to receive notifications from Let’s Encrypt.
-
Select the options:
-
Secure the domain name
-
Include a “www” subdomain
-
Secure webmail
-
Assign the certificate to the mail domain
-
-
-
Click Get it free.
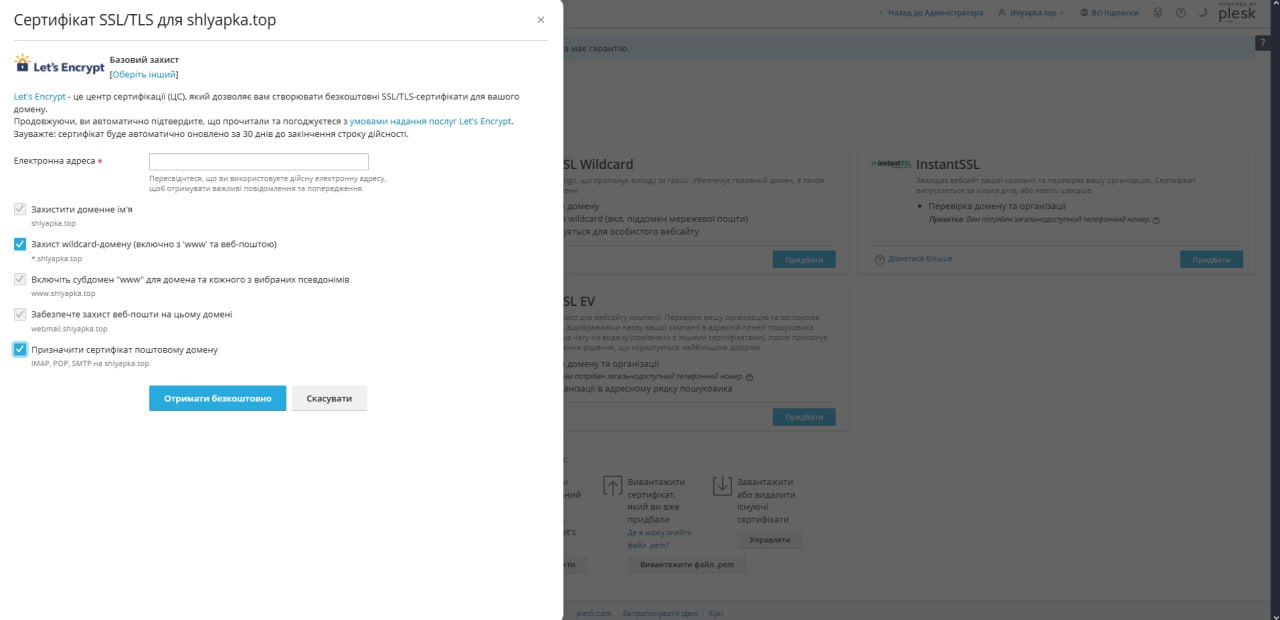
Plesk will automatically generate and install an SSL certificate from Let’s Encrypt for your domain.
⚙️ Step 2: Select the Certificate in Hosting Settings
-
In Websites & Domains, click Hosting Settings for your domain.
-
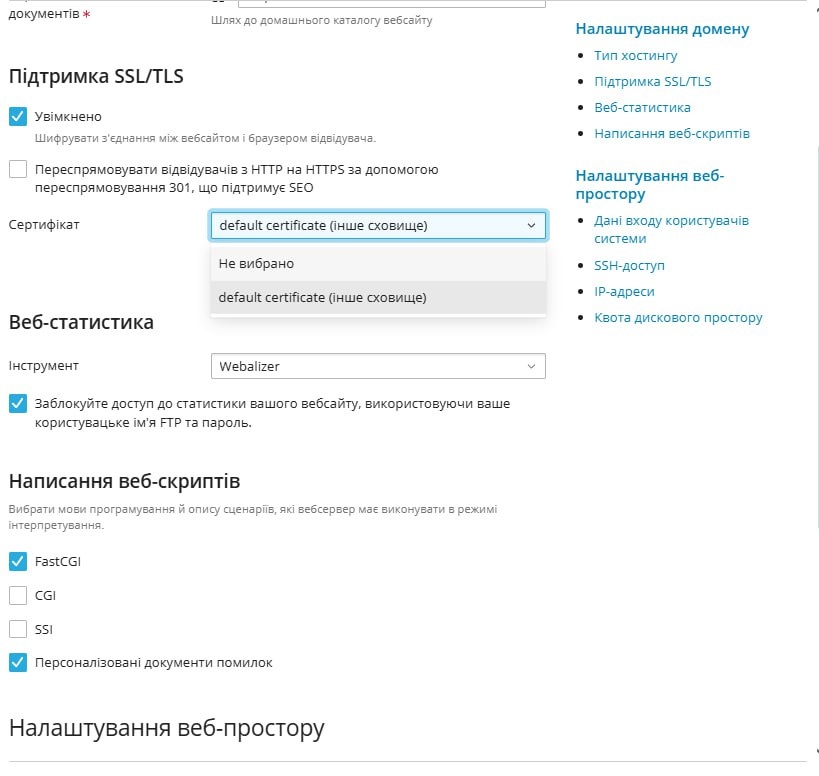
In the Security section:
-
Check SSL/TLS support.
-
In the Certificate dropdown list, select the newly installed Let’s Encrypt certificate.
-
Click OK or Apply.
-
This ensures your website uses the new certificate for secure connections.
🔄 Step 3: Verification & Automatic Renewal
-
The certificate is valid for 90 days.
-
Plesk automatically renews it using the SSL It! extension.
-
You will receive an email notification if there are any issues with renewal.
📌 Additional Tips
If you encounter issues issuing the certificate, make sure the domain is properly configured in DNS and accessible from the Internet.